Home › Recipe Index › Dessert › Cookies
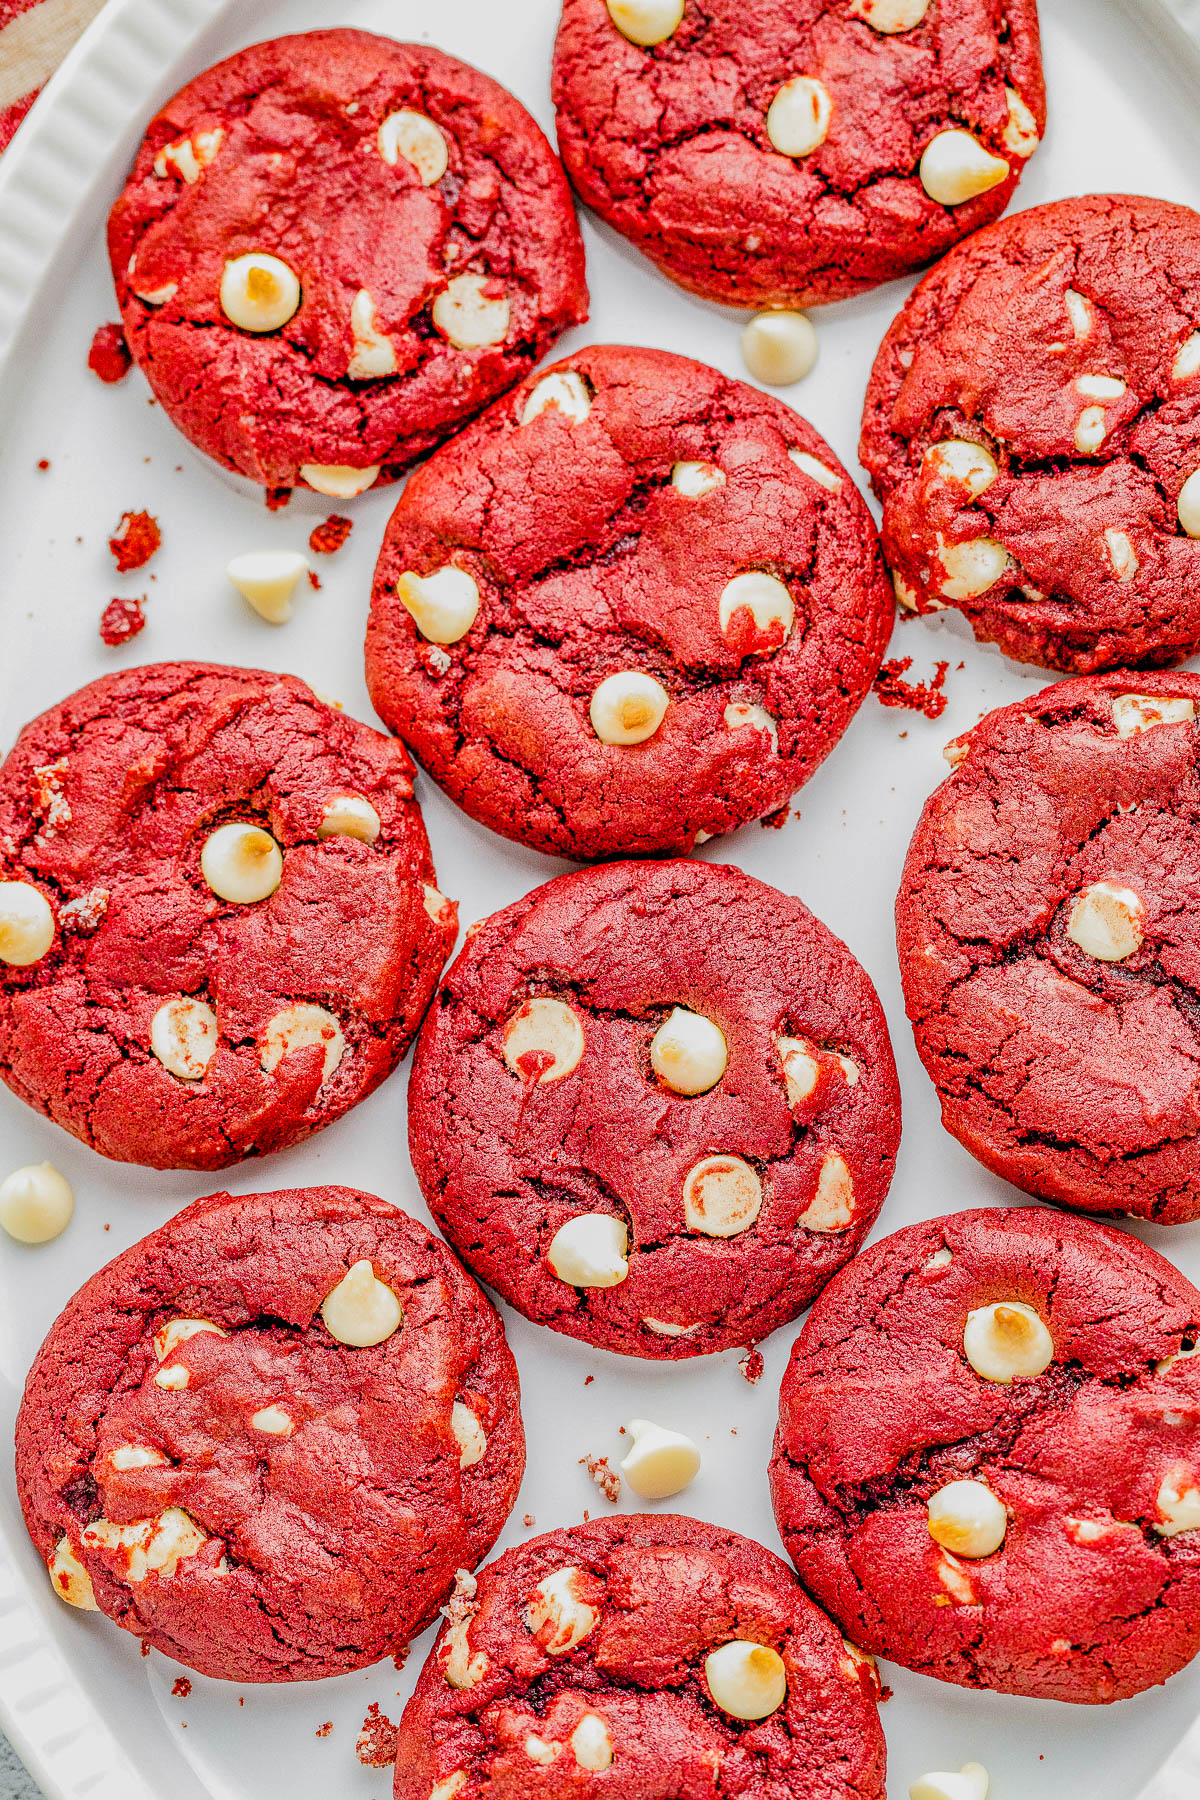
Soft and Chewy Red Velvet Cookies

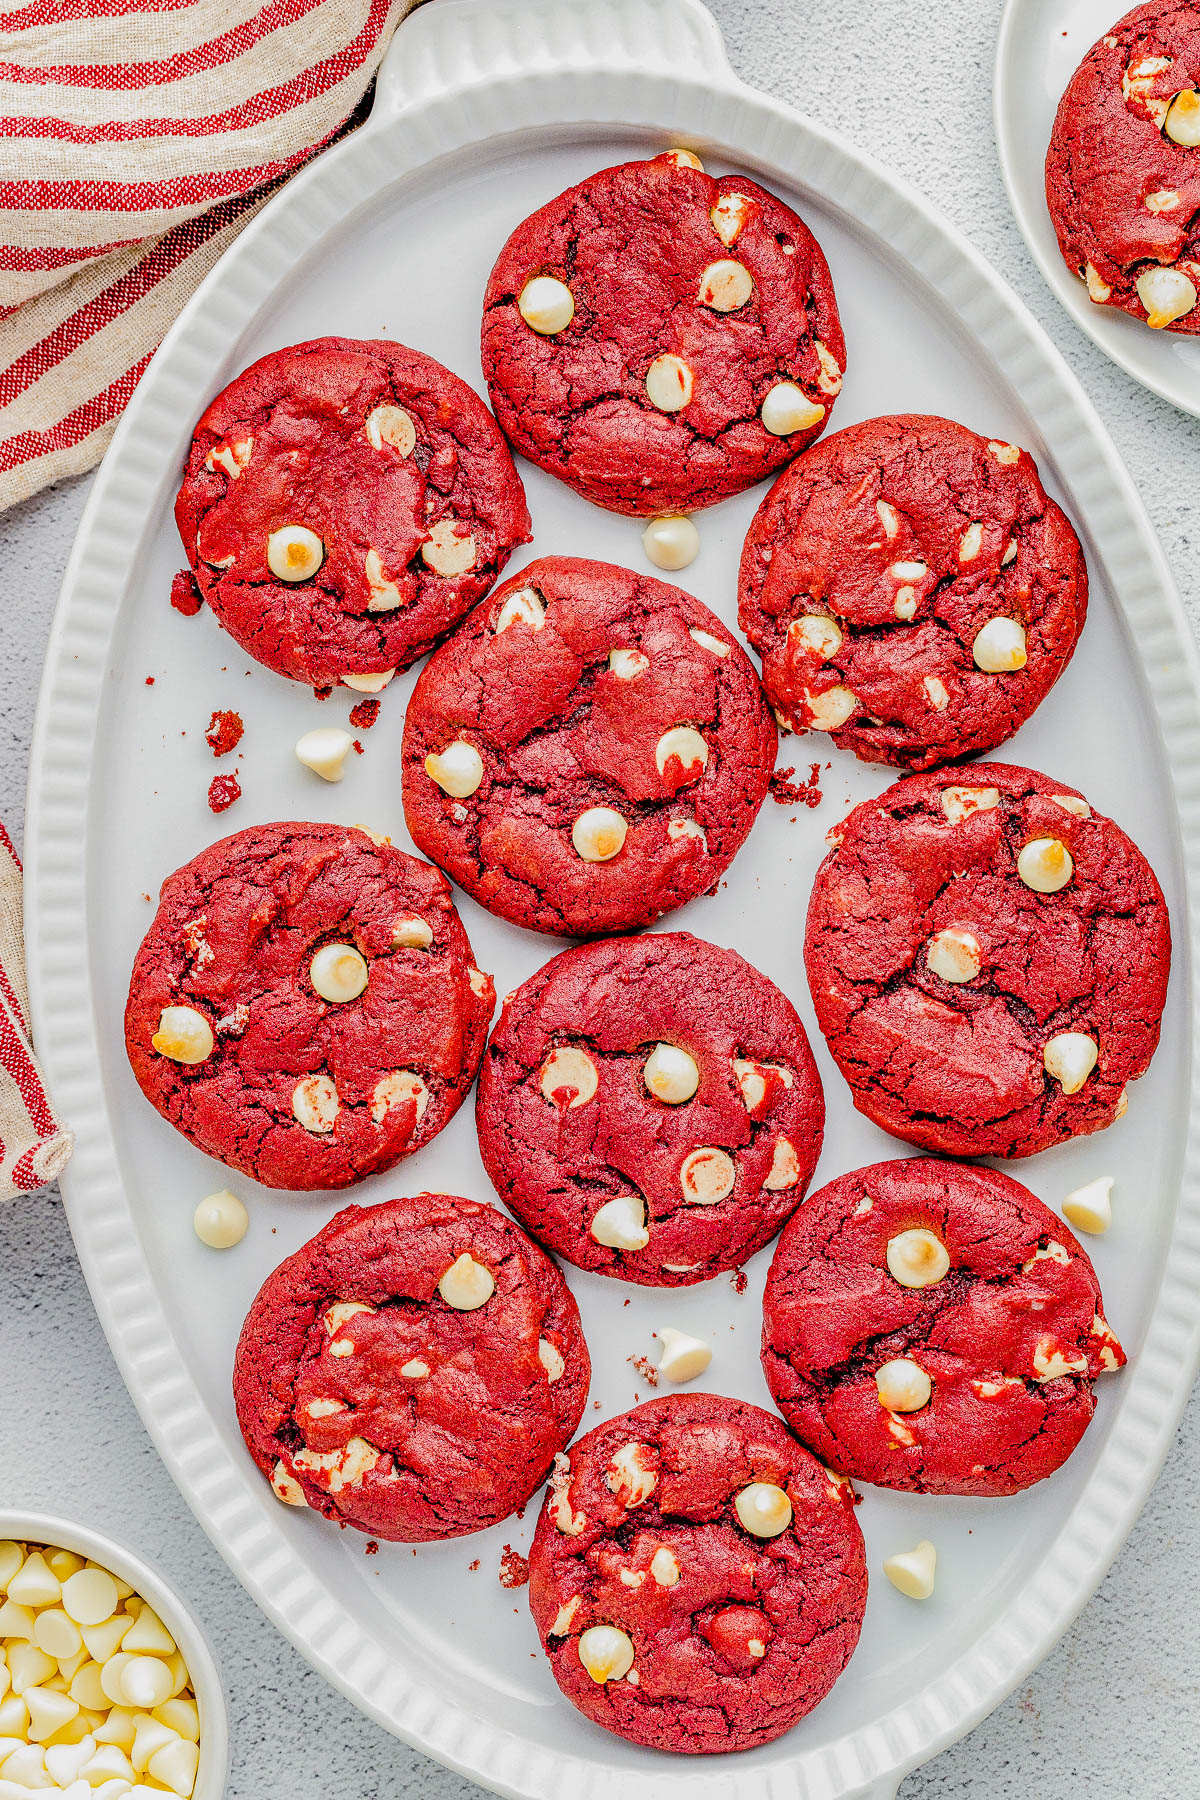
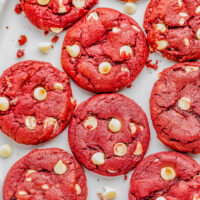
🍪❤️ My soft and chewy red velvet cookies are decadently delicious and loaded with white chocolate chips in every bite! They’re a classic from-scratch, EASY red velvet cookie recipe that’s made in one bowl with PERFECT results every time! They’re great for Valentine’s Day, Christmas, or any time you’re craving red velvet because these come together in no time, and everyone LOVES them!
Best Ever Red Velvet Cookie Recipe (Really!)
Red velvet-anything is one of my weaknesses. It’s right up there with peanut butter as being one of the best dessert flavors of all time — and yet, I somehow haven’t shared a classic red velvet cookie recipe before now. Here’s why I love it and know you will, too:
- When talking about red velvet cake, I’d say it tastes like a cross between vanilla cake and chocolate cake . It’s cocoa-y in flavor, with a subtle tanginess to it. Even though these red velvet cookies are very rich, they’re not in-your-face chocolate flavored, which makes it dangerously easy to eat one cookie after another!
- This reicpe is made totally from scratch, no cake mix here.
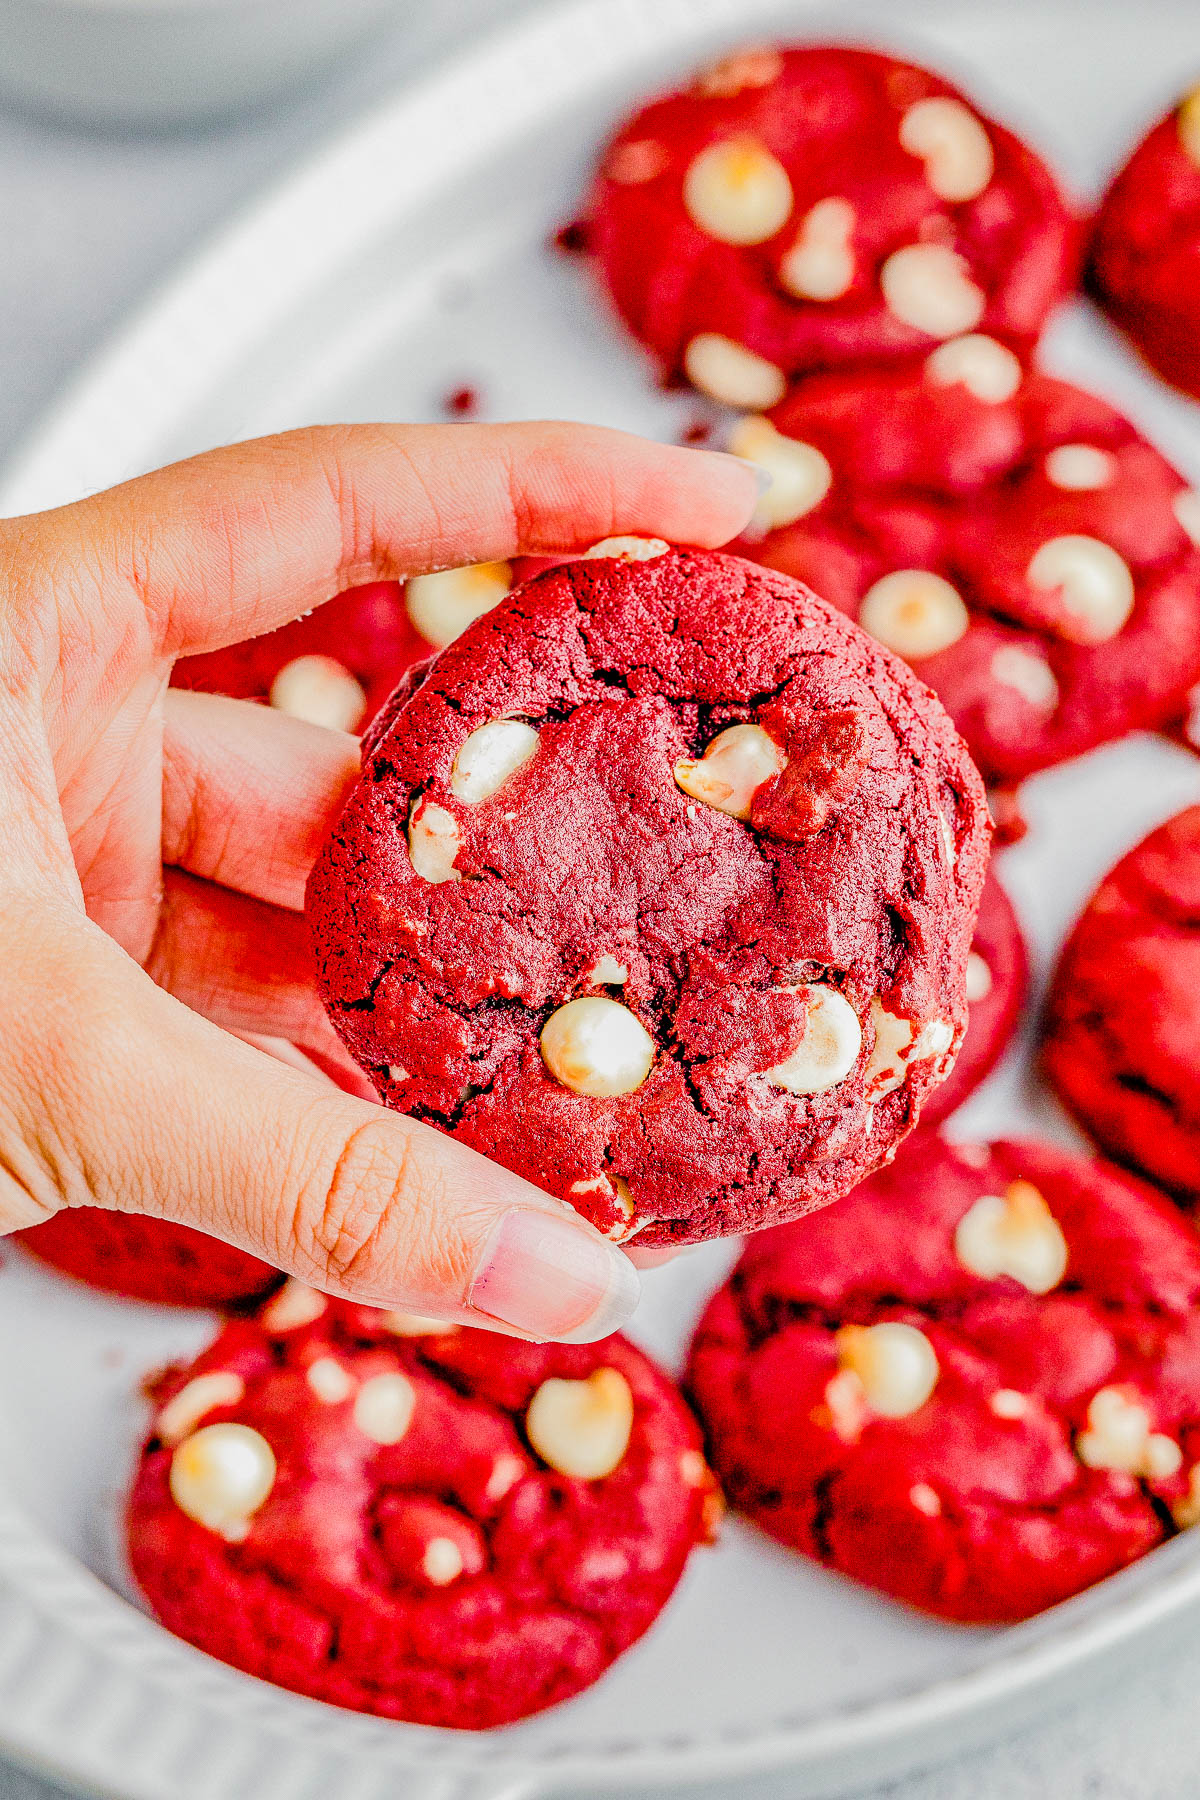
- To me, the best red velvet cookies are chewy around the edges but still soft and slightly fudgy in the center. I want the cookies to have a rich cocoa flavor and to have an alluring red color. These quick and easy cookies are winners on all counts!
- Because I love pairing my red velvet desserts with some kind of chocolate element, I folded white chocolate chips into the cookie dough. White chocolate chips are sweet and creamy , and they go perfectly with the rich red velvet cookies, but you can use milk or semi-sweet chocolate chips.
- Best of all, there are no special ingredients required to achieve that classic red velvet flavor! To color the cookie dough, I used liquid food coloring . You can make these as subdued or intensely red as you like.
- Red velvet desserts are especially perfect for Valentine’s Day and Christmas , but these red velvet white chocolate chip cookies can be enjoyed any time of year!
Love Red Velvet Cookies? Try These Next!
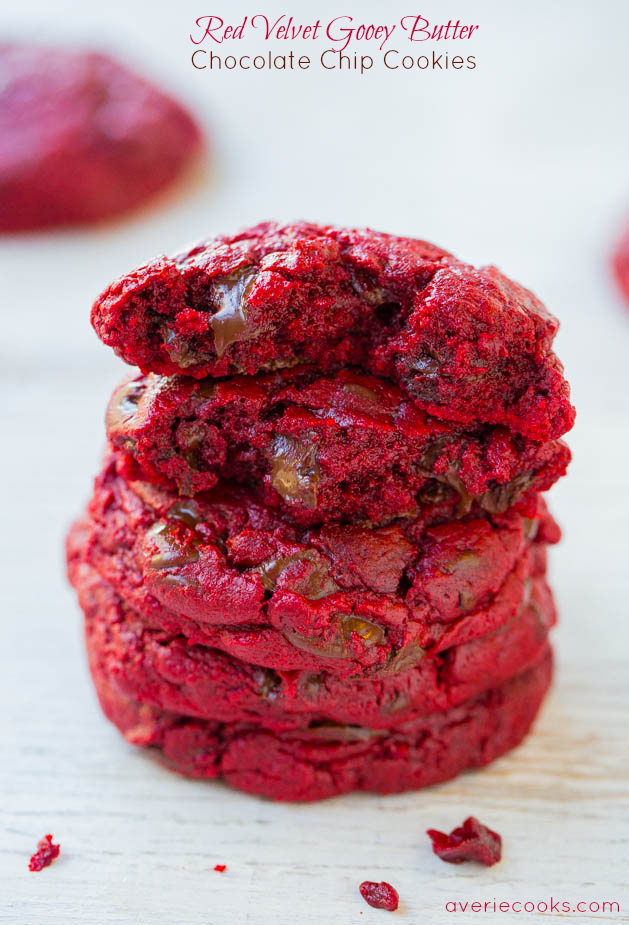
If you love these classic red velvet cookies, be sure to make my red velvet cake mix cookies next! They use cake mix as a baking shortcut and are incredibly ooey-gooey in texture, and there are tons of semi-sweet chocolate in every bite!
Recipe Ingredients
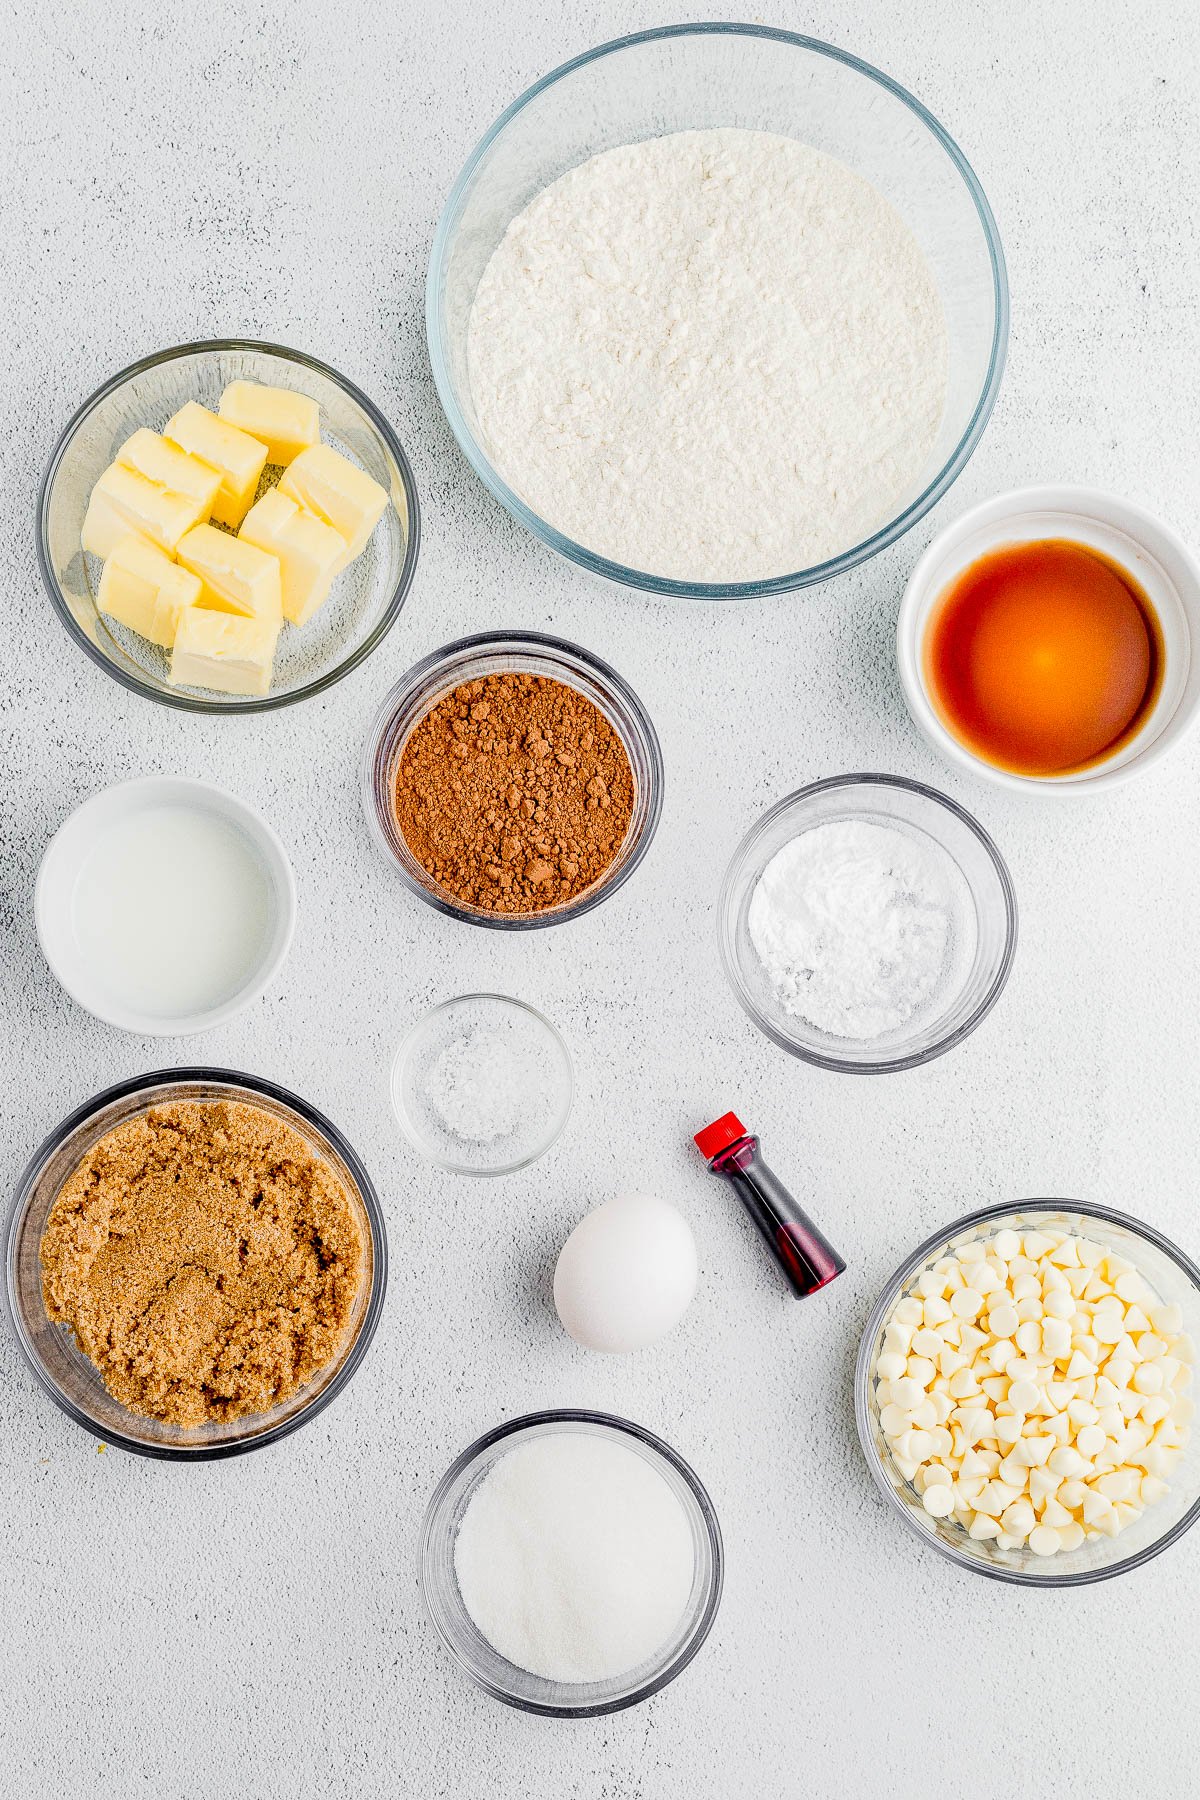
This recipe is very simple and calls for no special ingredients. Here’s what you’ll need to make red velvet cookies with white chocolate chips:
- All-purpose flour – I haven’t tested these cookies with a gluten-free flour, but it should work as long as you use a 1:1 all-purpose gluten-free flour
- Unsweetened natural cocoa powder
- Salt
- Unsalted butter
- Sweetener – Light brown sugar and granulated sugar
- Large egg
- Milk (any kind)
- Vanilla extract
- Liquid red food coloring – There are two basic types of food colorings: liquid red food coloring and gel food coloring . In these cookies, I use liquid food color because I didn’t make them extremely red, nor a fire-engine vibrant red. If that’s what you’re trying to accomplish, I would consider gel because you don’t need as much (it’s more concentrated).
- White chocolate chips (optional) – Feel free to use semi-sweet or dark chocolate chips instead
Note : Scroll down to the recipe card section of the post for the ingredients with amounts included and for more complete directions.
How to Make Red Velvet Cookies From Scratch
It doesn’t get much easier than this recipe for red velvet cookies! Make sure to plan accordingly because the cookie dough MUST chill in the fridge for one hour before being scooped into balls and baked.
Here’s a look at how the red velvet white chocolate chip cookies are prepared:
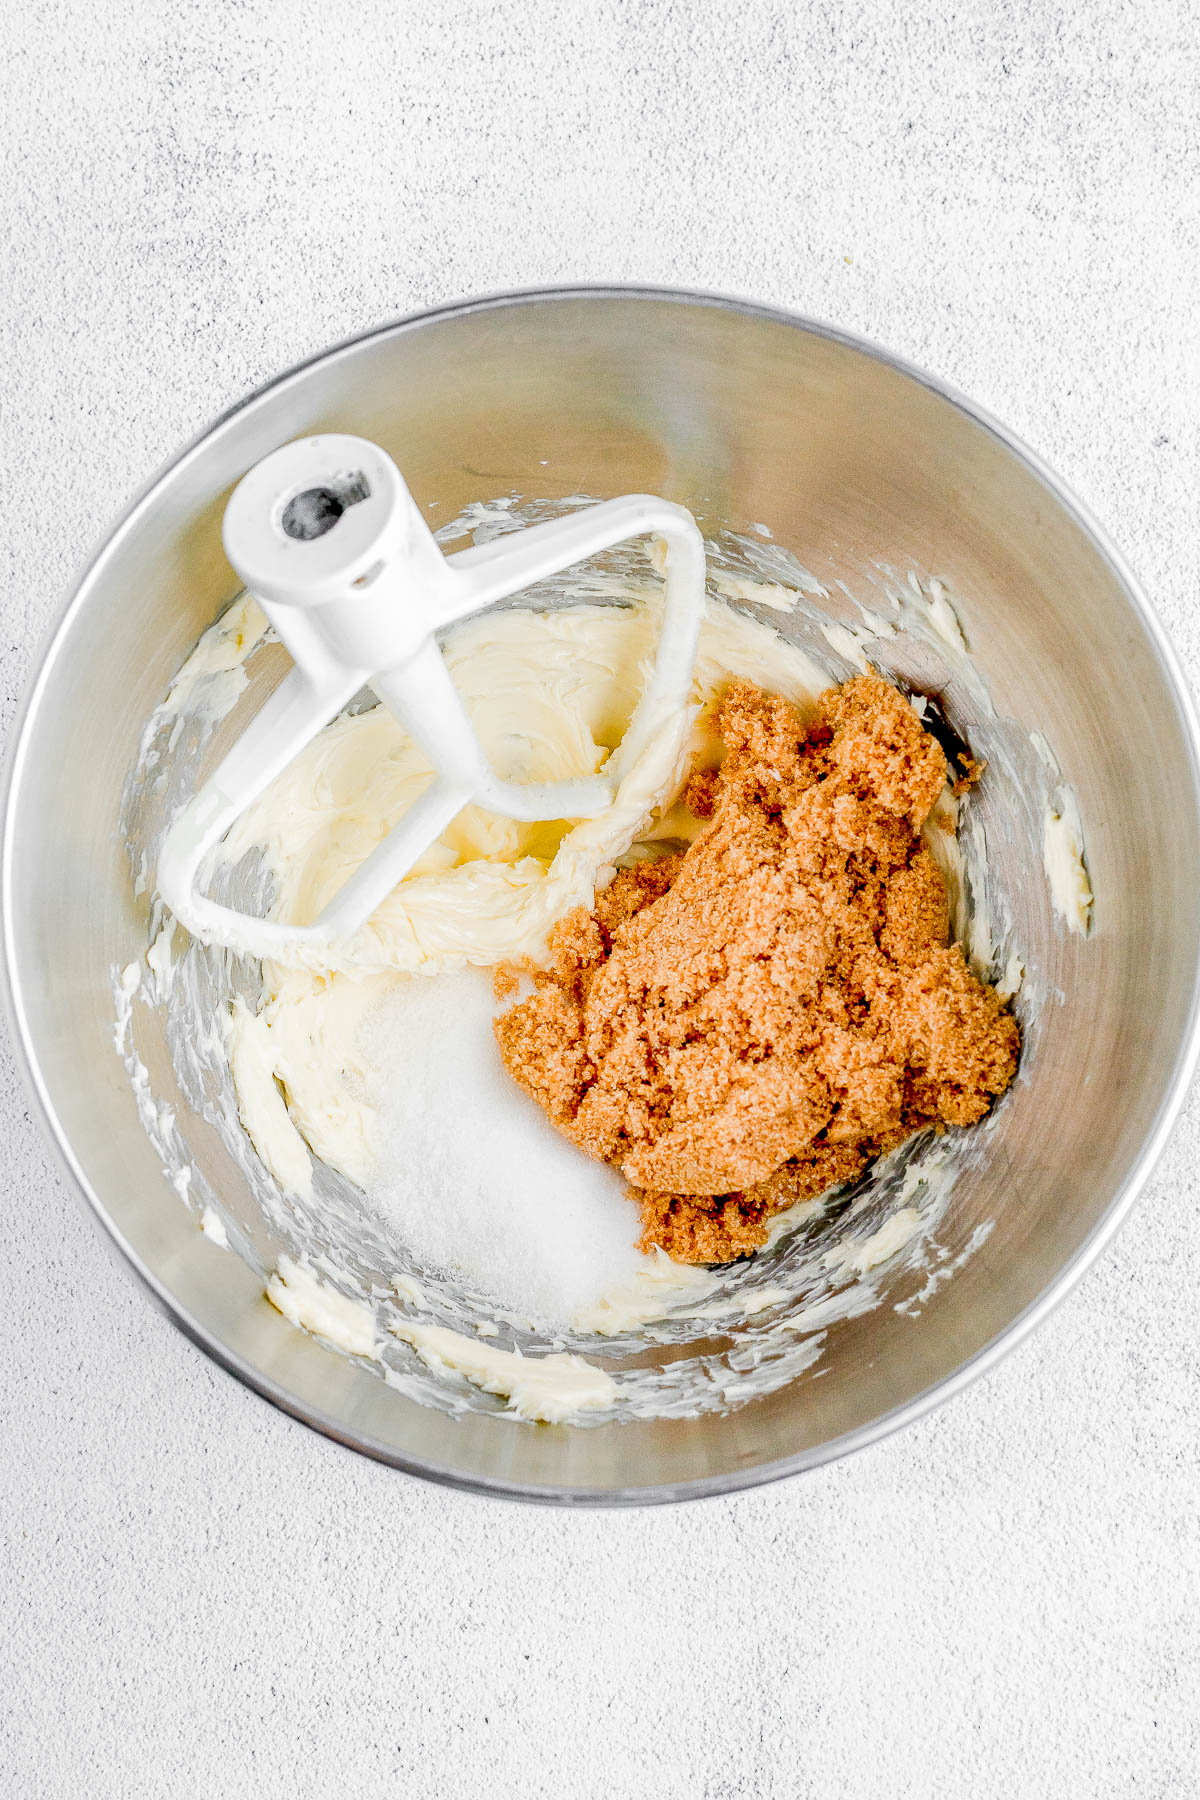
Step One: In a large bowl, use a hand mixer or stand mixer to beat the butter for about 1 minute until it’s creamy.
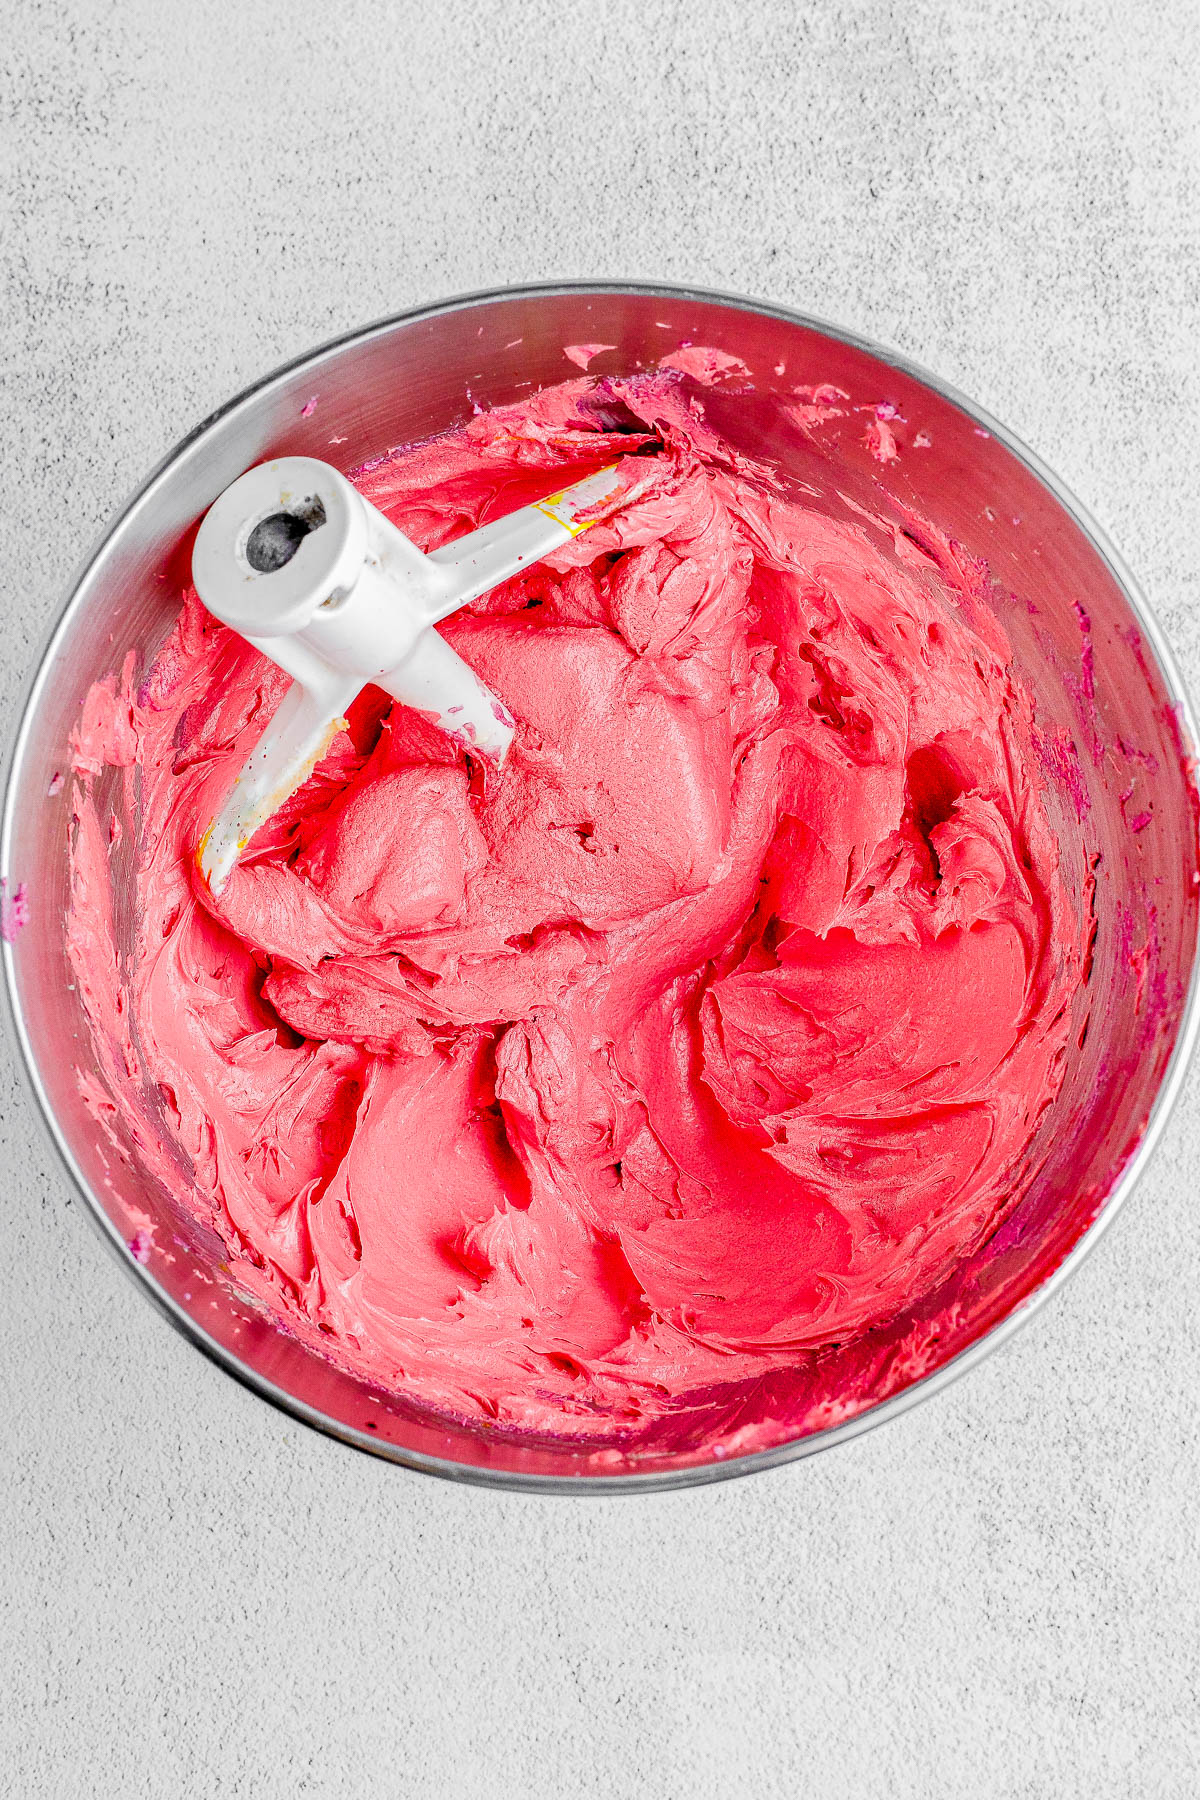
Step Two: Add both kinds of sugar, followed by the egg, milk, and vanilla extract. Stir in the liquid red food coloring.
Step Three: Add the dry ingredients. Stir to combine the flour mixture into the wet mixture. Gently fold in the white chocolate chips.
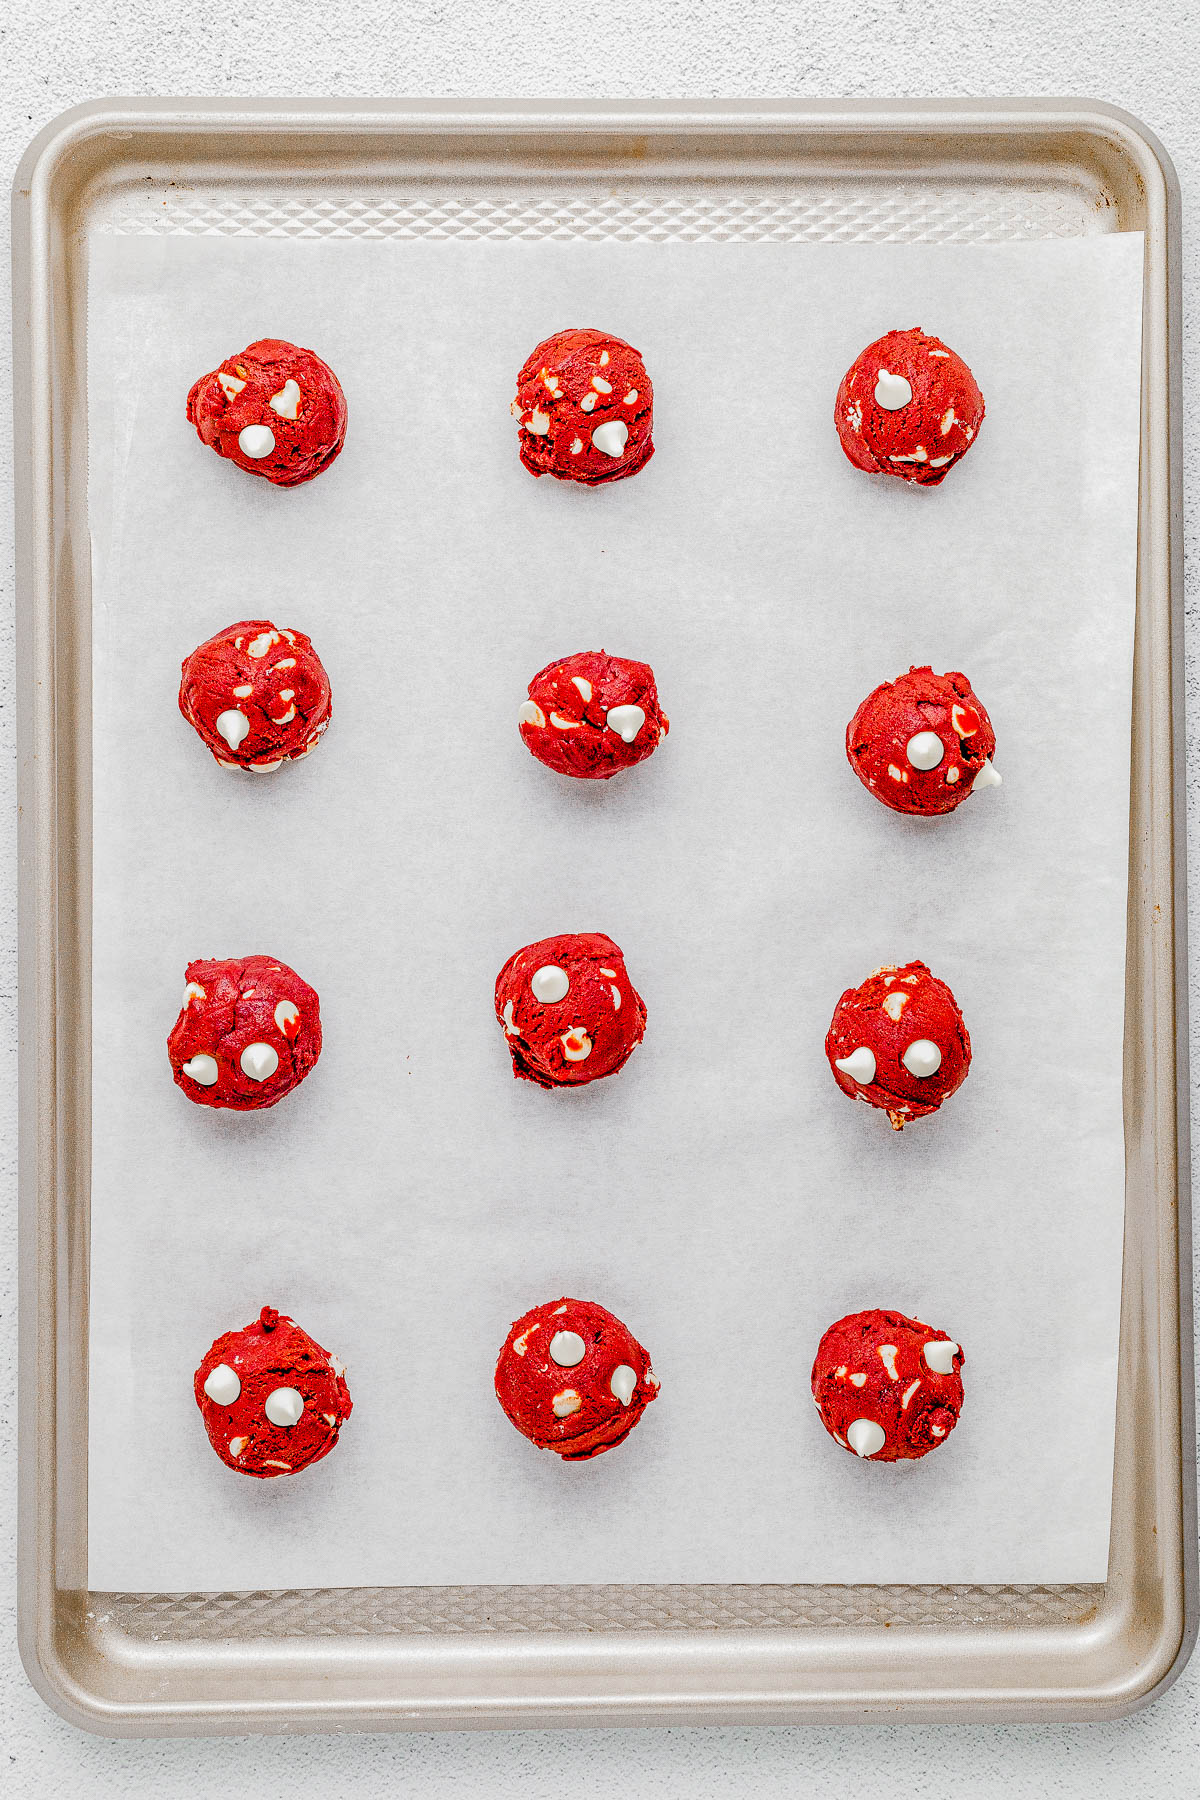
Step Four: Cover the bowl with plastic wrap and chill in the refrigerator for at least 1 hour. Scoop the chilled cookie dough into 1.5 to 2-tablespoon balls using a medium cookie scoop .
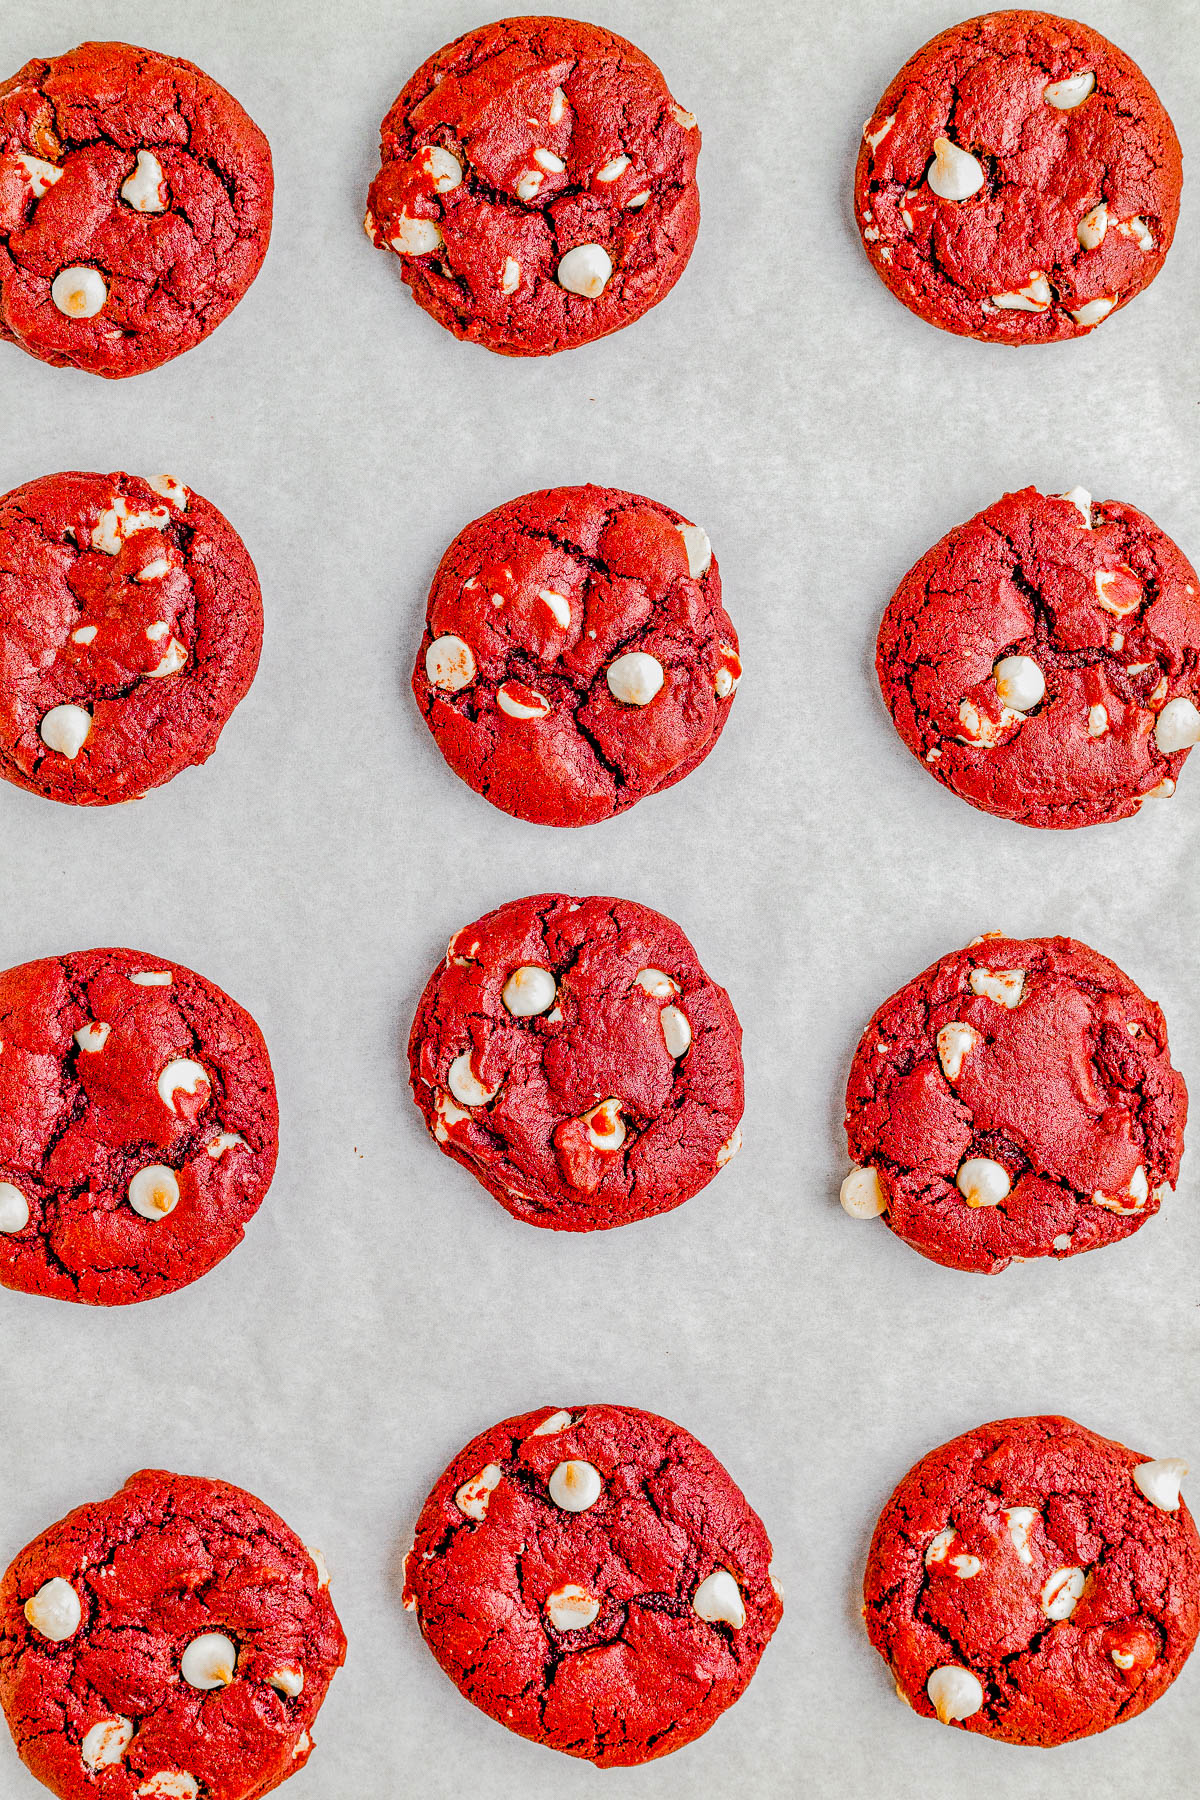
Step Five: Bake on a parchment paper-lined baking sheet or Silpat baking mat until the edges are set and the centers are just barely set. Let cool completely on a wire rack before enjoying.
Tip
Bake time: You want the cookies to be chewy around the edges but remain soft in the middle. You’ll know they’re ready to be pulled out of the oven when the edges are set and the centers have just barely set. Remember that cookies finish setting up as they sit on the baking sheet exposed to room-temperature air.
You didn’t add enough food coloring! If you think your liquid red food coloring has not delivered a strong enough color after adding 3 teaspoons to the cookie dough like the recipe calls for, add more, as desired until you achieve the correct shade but don’t exceed about 5-6 teaspoons total because potentially you may taste it, although I haven’t ran into that. And you might want to try a different brand in the future or use gel food coloring next time (which is much more concentrated in color).
If you shortchanged the chill time for the cookie dough, the cookies will spread like crazy on the baking sheet. The cookie dough must chill for 1 hour MINIMUM to prevent this from happening. Cookies will also spread if you add the chilled dough to a warm baking sheet. This can happen if you only have one baking sheet and are using it to bake multiple batches of cookies.
Absolutely! I think these red velvet cookies are the best within two days of baking them, but they’ll last up to a week on your counter if stored in an airtight container. Remember that the baked cookies and raw cookie dough can both be frozen for up to three months as well. So, you have a couple of different make-ahead options!
Recipe Variations to Try
This is such a simple red velvet cookie recipe that there’s not a whole lot you can do in the way of ingredient swaps or substitutions. However, there are a few delicious ways you can customize these cookies:
- Replace the white chocolate chips with another kind, such as dark, milk, or semi-sweet.
- Use another mix-in entirely, such as crushed Oreo pieces, M&M’s, peanut butter chips, toffee chips, or even finely chopped candy bars, could all work!
- Top with frosting. Homemade or store-bought would both work, and you can either frost classic red velvet cookies or white chocolate chip red velvet cookies. Some frosting ideas include chocolate frosting , chocolate ganache , and cream cheese frosting .
- Create cookie sandwiches by adding a spoonful of frosting (any kind!) between two red velvet cookies.
Equipment
- 1 Large Bowl
- 1 Stand Mixer Fitted with a Paddle Attachment
- 2 Baking Sheets
- 1 medium cookie scoop
- 1 Wire Rack
Ingredients
- ▢ 1 ⅔ cups all-purpose flour
- ▢ ¼ cup unsweetened natural cocoa powder
- ▢ 1 teaspoon baking soda
- ▢ ½ teaspoon salt
- ▢ ½ cup unsalted butter , softened to room temperature
- ▢ ⅔ cup light brown sugar , packed
- ▢ ¼ cup granulated sugar
- ▢ 1 large egg
- ▢ 1 tablespoon milk , 2% or whole milk preferred, although any type may be used
- ▢ 1 teaspoon vanilla extract
- ▢ 3 teaspoons liquid red food coloring , or as desired*
- ▢ 1 cup white chocolate chips , milk or semi-sweet chocolate chips may be substituted
Instructions
- To a large bowl, add the flour, cocoa powder , baking soda, salt, and whisk to combine the dry ingredients; set aside.
- To the bowl of a stand mixer fitted with the paddle attachment (or large mixing bowl and handheld electric mixer), add the butter, and beat on high speed for 1 minute, or until soft and creamy; stop to scrape down the sides of the bowl.
- Add the sugars and beat for 1 minute, or until light and creamy.
- Add the egg, milk, vanilla, and beat for 1 to 2 minutes, or until creamy and combined; stop to scrape down the sides of the bowl.
- Slowly add the dry ingredients, little by little, beating to incorporate them as you go, until you’ve added everything and a smooth dough forms; don’t overmix.
- Add the food color (I use liquid food color , but gel food color may be used noting you’ll need less because it’s more concentrated) and beat carefully to incorporate, taking care that it doesn’t splatter up on you because it stains everything in its presence. Food Coloring Tips – I used 4 teaspoons liquid food color but you can use up to about 5-6 teaspoons if you want a brighter and/or more prominent red color. If you want fire engine red cookies, you’ll either need to use at least 2-3 tablespoons (not teaspoons) liquid food color, or perhaps about 3/4 to 1 tablespoon gel food color.
- Add the white chocolate chips and mix to incorporate.
- Cover the bowl with plastic wrap and place in the fridge to chill for 1 hour. Tips – Alternatively, you can form dough balls and place them on a plate to chill for up to 48 hours. However, if you’re going to keep the dough chilling in the bowl, after 1 hour, retrieve it and form the cookie dough balls, otherwise the dough simply gets too hard to chisel out of the bowl.
- Preheat the oven to 350F and line two baking sheets with parchment or Silpat baking mats ; set aside momentarily.
- Using a medium cookie scoop, form approximately 20 mounds of dough, about 2 tablespoons each in size and evenly place them on the baking sheets. You’ll want about 10 to 12 dough balls per baking sheet, but not more, because they’ll spread and need room.
- Bake for about 12 to 13 minutes, or just until the edges are beginning to set, even if the centers look undone because the cookies will firm up as they cool. Allow them to sit on the bakings sheets and firm. up for about 10 minutes, or until they’re cool enough to transfer to a wire rack to cool completely ( See More Baking Tips below ). Tip – If desired, add a couple white chocolate chips to the top of each freshly baked cookie for visual appeal and a burst of additional chocolate flavor.
- Storage – Cookies are best fresh but will keep airtight at room temp for up to 5 days. Unbaked cookie dough balls can remain airtight in the fridge for up to 48-72 hours before being baked. Unbaked cookie dough balls will keep airtight in the freezer for up to 3-4 months. You do not need to thaw them and can bake straight from frozen, simply add 1-2 minutes or as necessary to the baking time so they’re done. You can also freeze baked cookies airtight for up to 3-4 months, although I prefer freezing the cookie dough balls so that I can always bake up a batch of fresh cookies.
- Recipe adapted from Sally’s Baking Addiction
Notes
Nutrition
Nutrition information is automatically calculated, so should only be used as an approximation.
©averiecooks.com. Content and photographs are copyright protected. Sharing of this recipe is both encouraged and appreciated. Copying and/or pasting full recipes to any social media is strictly prohibited.
↓ Click the Stars to Rate This Recipe ↓
Tried this recipe? Leave a review!
Consider leaving a 5 star rating if you’ve made and loved one of my recipes!

More Easy Red Velvet Recipes:
Chocolate Chip Red Velvet Cookies — These chocolate chip red velvet cookies have a secret ingredient — cake mix! These cookies are super ooey gooey and ultra rich!
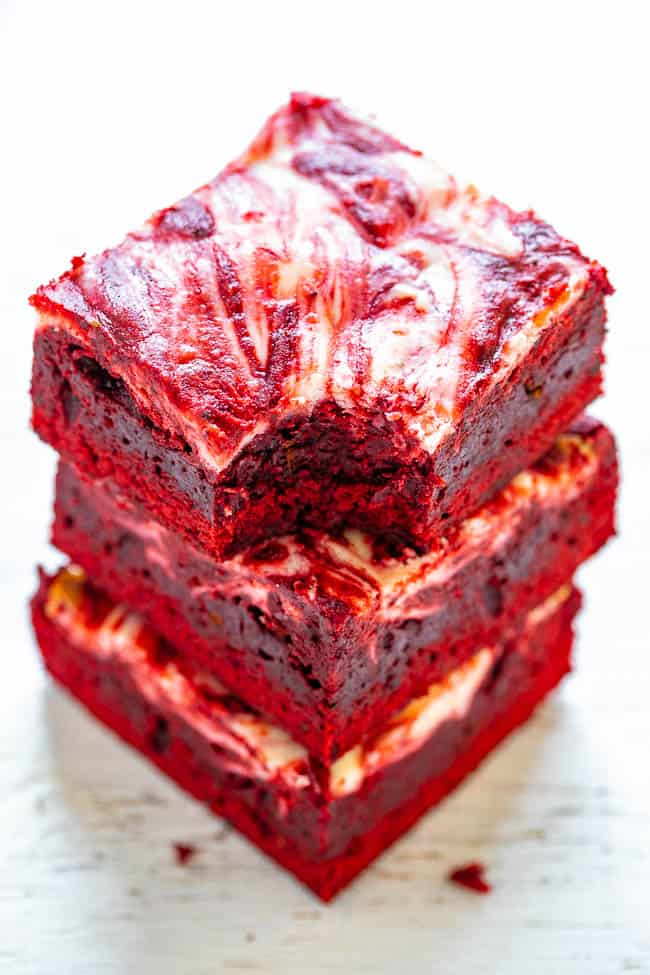
Red Velvet Cheesecake Brownies — Rich, decadent, red velvet brownies topped with tangy cream cheese swirls! PERFECT for Valentine’s Day, the Christmas season, or anytime you’re craving red velvet! EASIER than you think to make!
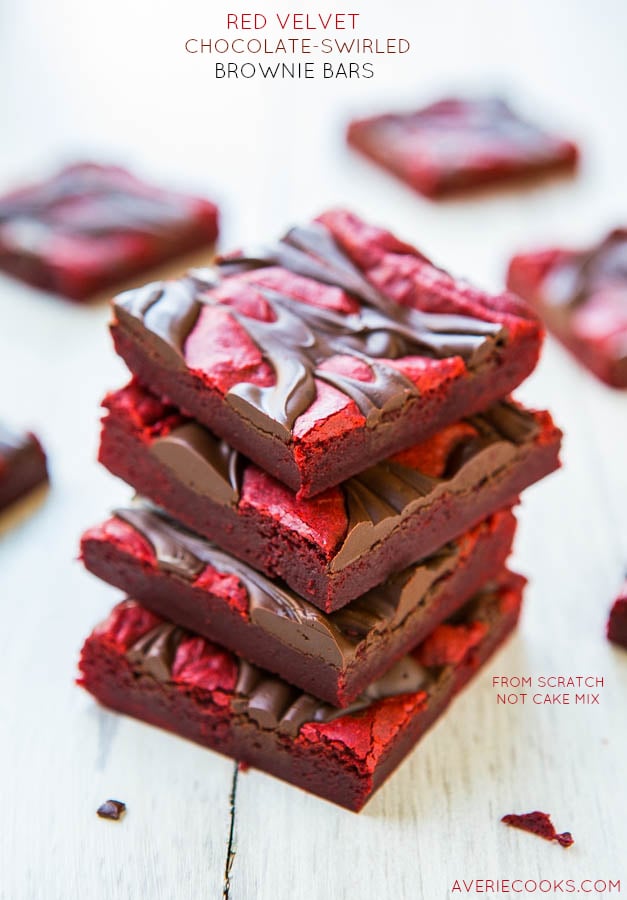
Chocolate-Swirled Red Velvet Brownies — These FROM SCARTCH easy red velvet brownies are topped with an abundance of chocolate and are velvety soft and smooth! They don’t call it red velvet for nothing!
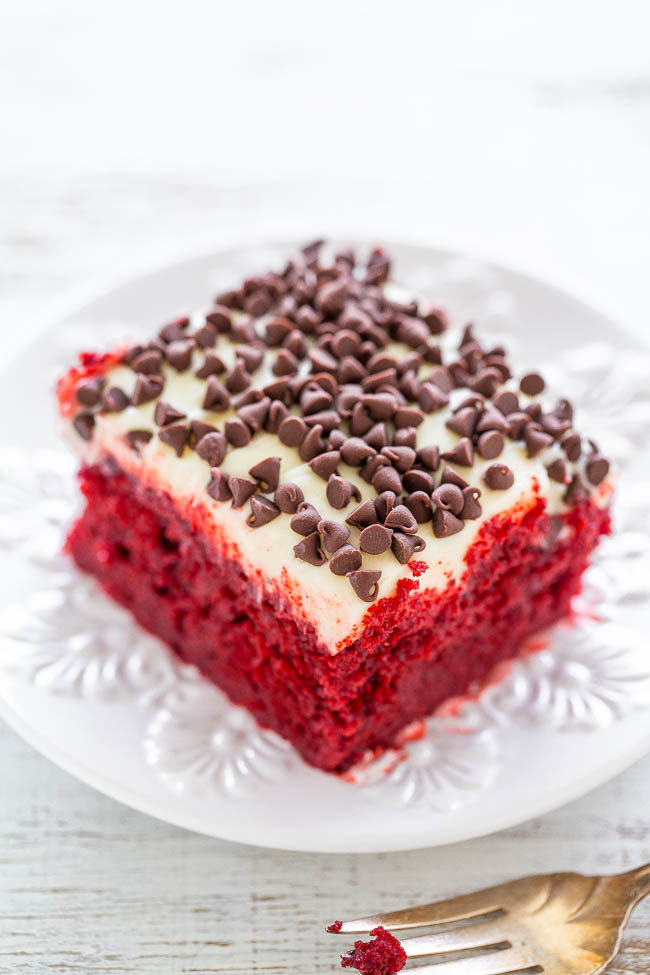
Red Velvet Poke Cake with Cream Cheese Frosting — If you like red velvet, you’re going to LOVE this EASY red velvet cake recipe! Super soft, moist, topped with luscious cream cheese frosting and chocolate chips! Perfect for holidays and special events!
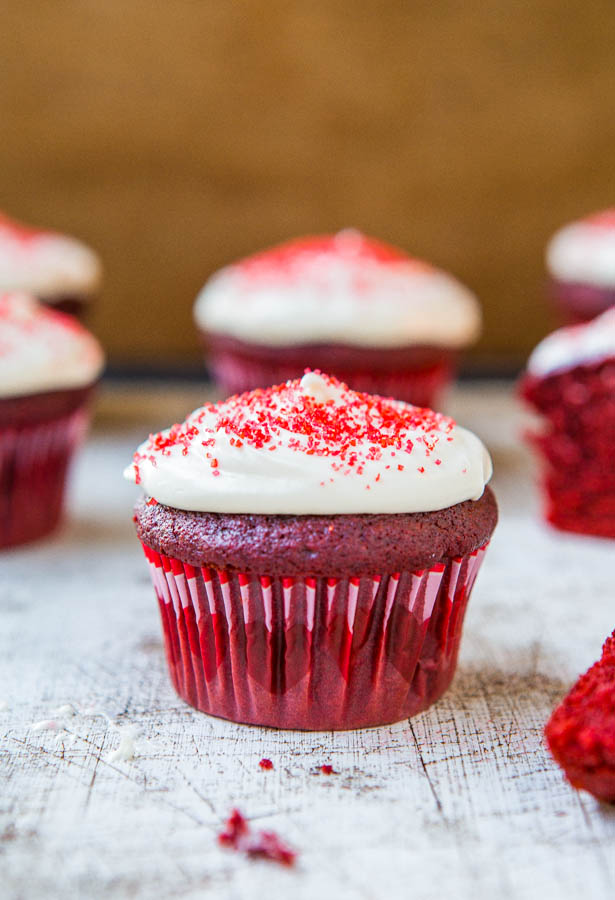
Red Velvet Cupcakes with Cream Cheese Frosting — If you’ve ever wanted to make red velvet cupcakes from scratch that are as good as those you’d find in a bakery, try this hassle-free recipe!
The BEST Red Velvet Truffle Cupcakes — Tender fluffy red velvet cupcakes stuffed with chocolate truffles and topped with sweet and tangy cream cheese frosting! EASY to make and the PERFECT Valentine’s Day or holiday treat sure to impress your family and friends!

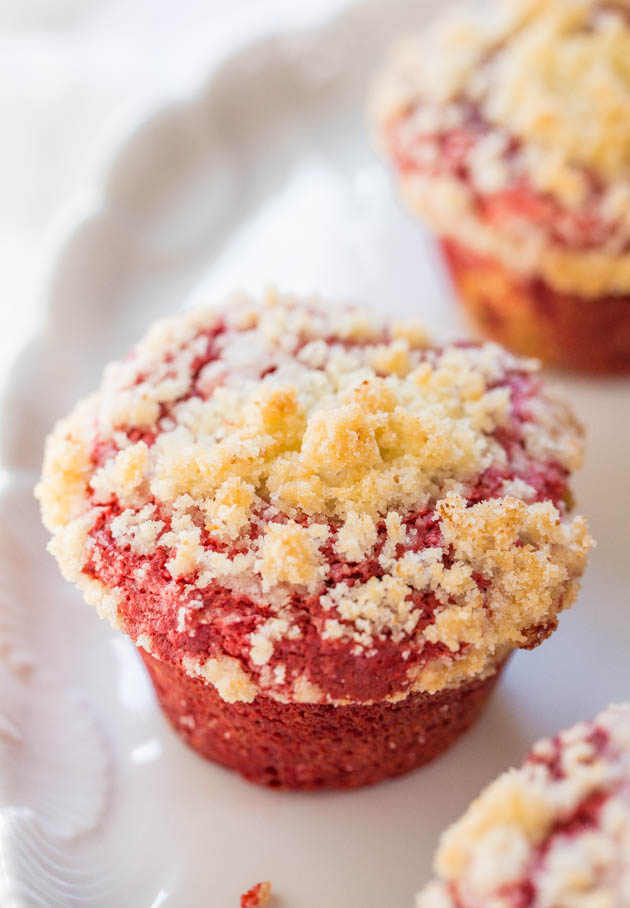
Red Velvet Cream Cheese Muffins – Cream cheese in the batter keeps the muffins so soft! The buttery crumb topping is just irresistible!
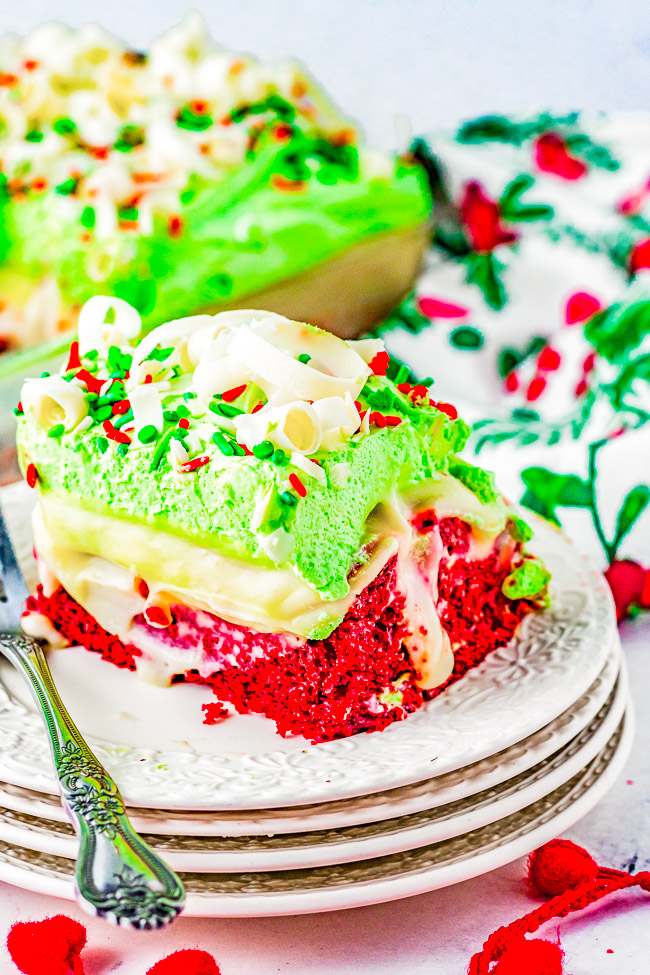
Christmas Red Velvet Poke Cake — The EASIEST and most impressive red velvet Christmas cake! You’ll have your friends and family thinking you’re a rock star pastry chef! Moist red velvet cake is infused with white chocolate pudding, then topped with whipped topping, sprinkles, and white chocolate curls! Ready in ONE HOUR and uses shortcut ingredients to make your job as easy and hassle-free as possible!
Red Velvet Cookies
Equipment
- 1 Large Bowl
- 1 Stand Mixer Fitted with a Paddle Attachment
- 2 Baking Sheets
- 1 medium cookie scoop
- 1 Wire Rack
Ingredients
- 1 ⅔ cups all-purpose flour
- ¼ cup unsweetened natural cocoa powder
- 1 teaspoon baking soda
- ½ teaspoon salt
- ½ cup unsalted butter softened to room temperature
- ⅔ cup light brown sugar packed
- ¼ cup granulated sugar
- 1 large egg
- 1 tablespoon milk 2% or whole milk preferred, although any type may be used
- 1 teaspoon vanilla extract
- 3 teaspoons liquid red food coloring or as desired*
- 1 cup white chocolate chips milk or semi-sweet chocolate chips may be substituted
Instructions
- To a large bowl, add the flour, cocoa powder , baking soda, salt, and whisk to combine the dry ingredients; set aside.
- To the bowl of a stand mixer fitted with the paddle attachment (or large mixing bowl and handheld electric mixer), add the butter, and beat on high speed for 1 minute, or until soft and creamy; stop to scrape down the sides of the bowl.
- Add the sugars and beat for 1 minute, or until light and creamy.
- Add the egg, milk, vanilla, and beat for 1 to 2 minutes, or until creamy and combined; stop to scrape down the sides of the bowl.
- Slowly add the dry ingredients, little by little, beating to incorporate them as you go, until you’ve added everything and a smooth dough forms; don’t overmix.
- Add the food color (I use liquid food color , but gel food color may be used noting you’ll need less because it’s more concentrated) and beat carefully to incorporate, taking care that it doesn’t splatter up on you because it stains everything in its presence. Food Coloring Tips - I used 4 teaspoons liquid food color but you can use up to about 5-6 teaspoons if you want a brighter and/or more prominent red color. If you want fire engine red cookies, you’ll either need to use at least 2-3 tablespoons (not teaspoons) liquid food color, or perhaps about 3/4 to 1 tablespoon gel food color.
- Add the white chocolate chips and mix to incorporate.
- Cover the bowl with plastic wrap and place in the fridge to chill for 1 hour. Tips - Alternatively, you can form dough balls and place them on a plate to chill for up to 48 hours. However, if you’re going to keep the dough chilling in the bowl, after 1 hour, retrieve it and form the cookie dough balls, otherwise the dough simply gets too hard to chisel out of the bowl.
- Preheat the oven to 350F and line two baking sheets with parchment or Silpat baking mats ; set aside momentarily.
- Using a medium cookie scoop, form approximately 20 mounds of dough, about 2 tablespoons each in size and evenly place them on the baking sheets. You’ll want about 10 to 12 dough balls per baking sheet, but not more, because they’ll spread and need room.
- Bake for about 12 to 13 minutes, or just until the edges are beginning to set, even if the centers look undone because the cookies will firm up as they cool. Allow them to sit on the bakings sheets and firm. up for about 10 minutes, or until they’re cool enough to transfer to a wire rack to cool completely ( See More Baking Tips below ). Tip - If desired, add a couple white chocolate chips to the top of each freshly baked cookie for visual appeal and a burst of additional chocolate flavor.
- Storage - Cookies are best fresh but will keep airtight at room temp for up to 5 days. Unbaked cookie dough balls can remain airtight in the fridge for up to 48-72 hours before being baked. Unbaked cookie dough balls will keep airtight in the freezer for up to 3-4 months. You do not need to thaw them and can bake straight from frozen, simply add 1-2 minutes or as necessary to the baking time so they’re done. You can also freeze baked cookies airtight for up to 3-4 months, although I prefer freezing the cookie dough balls so that I can always bake up a batch of fresh cookies.
- Recipe adapted from Sally’s Baking Addiction
Notes
Nutrition
Red Velvet Cookies - AverieCooks.com
